Preparing Garden Beds
Spring is the ideal time to start prepping your beds for planting. Most flower beds require a 6-to-12-inch-deep bed. This allows the soil to dry out faster.
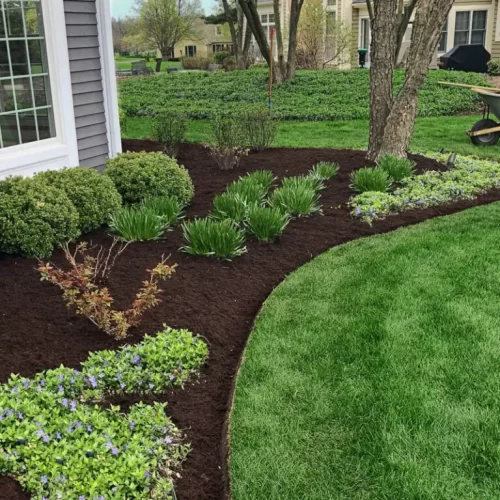
Raised beds are ideal for growing most plants, allowing the soil to warm more quickly and drain better. Furthermore, raised beds help retain moisture and keep weeds at bay.
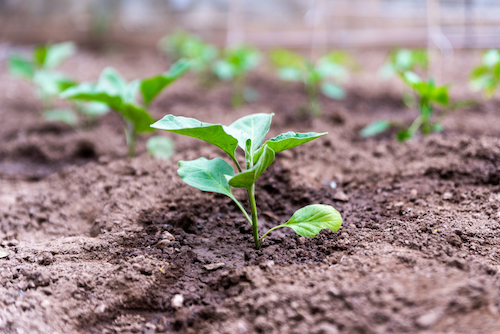
The preparation for your beds depends on their depth and what plants will be grown there. For instance, more work will be needed if the bed is used for large root crops like carrots. Furthermore, add plenty of compost, manure, or other organic matter into the soil to improve conditions for seedlings. Spread a layer of compost over your entire bed in either fall or spring and mix it in. This will encourage organic decay and provide your plants with additional nutrients. Before planting your seeds, till the soil to a depth of at least 6 inches. This will break up compacted soil and prepare it for seeds, preventing it from becoming hardpan which could restrict root growth. Next, we’ll answer how to till soil.
How to Till Soil
If the soil in your flower gardens is tough and solid, you must turn it over when preparing garden beds. Then, you’ll need to dig down and cultivate the soil. You must add soil amendments if you have hard soil in your flower beds. Soil amendments are materials you add to improve water retention, permeability, water infiltration, drainage, aeration, and structure. Leaf compost and peat moss work well. Simply spread a one-to-two-inch layer over the flower bed.
Next, You’ll add your peat moss. Apply a nice heavy layer of peat moss. This will help retain moisture as well as keep the soil loose. Next, turn over the earth with the amendments to properly cultivate them together. If you have a rototiller, this is also an excellent time to use it. However, doing it by hand in a smaller flower garden bed is fine. When preparing garden beds, you’ll blend all these layers into your soil to achieve your potting soil-like mix.
Now that we’ve added the soil amendments to your flower beds, you must come through and rake the area. You will find a nice clean edge, but you want to pull that soil away from the edge and ensure that all of your soil is blended nicely. You want a nice defined edge on this planting bed for manicured and groomed results once you’ve raked the bed and achieved the general contour.
Switch from a steel rake to a regular metal leaf rake. This allows you to achieve a nice soft edge breaking out clumps of soil so that your soil is loose as potting soil. You’ll see the earth is consistent in texture. Quickly planting flowers with your fingers is the goal of your soil amendment and crop.
Now that you are done preparing garden beds, add slow-release fertilizer before you plant all the flowers. You’ll want to apply a slow-release fertilizer over the entire planting bed. You will have a slow-release commercial fertilizer grade and just put a light coating over the full planting bed as you plant your flowers cultivated into the soil at the root zone. Hardware stores often provide Osmocote, which works very well.
Now you’re ready to plant your flowers. First, remove the plant tags that have come with the plant. Label a Ziploc baggie with the year and season. That way, next year, you will know which were successful and which you enjoyed the most. Save these in your garage with your garden tools. You will find them when you’re ready to plant next year.
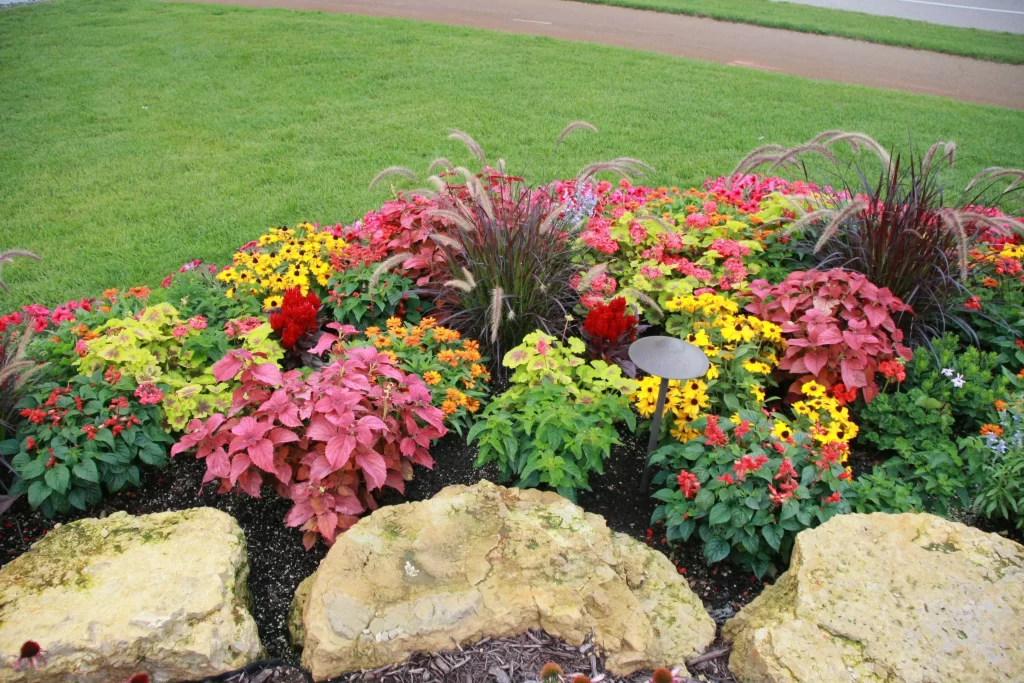
Choose a variety of begonias in different colors when preparing garden beds. These gardens are successful in the sun or shade. Coleus plants are another great choice to provide an accent to any of the bedding flowers. You have flowers like the typical Marigold, which works very well in vegetable gardens and helps deter animals from getting into your plants.
Spillers such as potato vines are also more successful in your container plantings. They provide a cascading element to your plantains.
When planting your flowers, plan the layout in the flower bed. You should space your plants 8 to 12 inches apart. Stagger them throughout the planting bed and return later to see if you like the layout. Now that you’ve laid out the flowers, you’re ready to plant. Your soil should be loose enough that you can use two fingers to insert each plant into the ground. You want to make sure you compact the soil around the plants so they stand upright and there’s new soil on top of the existing soil of the annual flower.
When watering, make sure you water adequately. Even when the soil’s surface is wet, it can quickly dry below. You want to ensure that water penetrates deep–two to three inches into the ground–at the root zone. That also helps prevent them from drying out as the day goes on.
If you fertilize your flower garden, rinse the flowers afterward to prevent burn spots on the leaves. When life gets busy, a quick pro tip is to let your garden hose run and water around the base of the plants if you’re running short on time. This provides an excellent solution to get your flowers watered before going out.
You want to plant your annual flowers with your hands. So, you’re looking to get the soil in your garden beds loose as potting soil. Do you remember how to till soil? You may not have done your job correctly if you need hand trowels.
With Apex Landscaping, you can easily plant and care for annual flowers or let us do the dirty work. Here is our collection of projects we are most proud of to inspire you. Please reach out with any questions.